I’ve been really worried about joining pieces of wood with the Lazy Weekend canoe. I have already written, not one, but two articles on joining plywood. I was even more concerned about joining long pieces of lumber.
Yes, I realize that seems unlikely, but it is still true.
I had hoped to get around needing scarf lumber for this build. After all, the longest piece that I needed was 16 feet, and my local Lowes has plenty of lumber that is as long as that. Unfortunately, one of my gunnels had a tight knot in it. It didn’t take hardly any pressure at all for the gunnel to break.
Once the gunnel broke it became clear that I was either going to have to go to the lumberyard and pick up another piece of wood, or I was going to have to learn to scarf. I had plenty of 3/4 inch wide cuts from the 2×10. They just didn’t have 16 feet of clean wood.
I thought that it would be easier to cut the scarf if I used my new circular saw. So I scoured the Internet for ideas. Interestingly enough no one seems to be using a circular saw to cut scarf joints. Now that I have tried it I believe that I can see why.
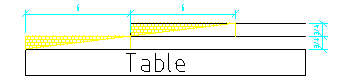
Any how, before actually building my jig I drew a few quick drawings in Librecad

CAD is quite useful for building proof of concept stuff in your head, and it is easy enough to learn how to do the basics. With CAD you don’t waste any lumber until you have something that might actually work. The fence is a slanted black line, the proposed cut is yellow, the three parallel boxes that make the design look like an E are really pieces of 2×4 that the table and fence sit on. The idea was to use these to protect the clamps that would go underneath.
The idea was good enough on paper that I actually built it.
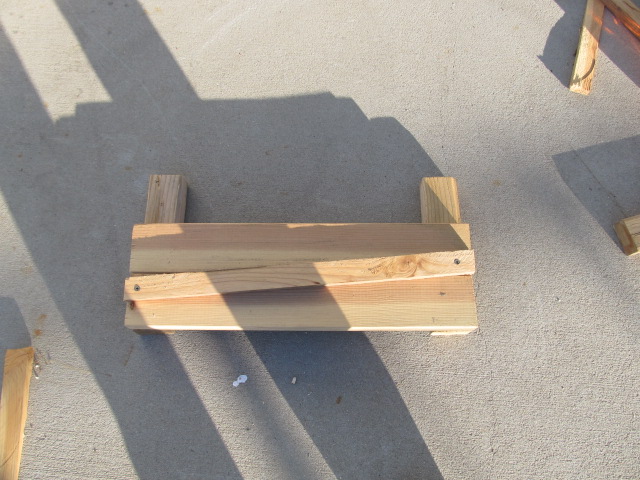
It mostly worked as I had planned. Unfortunately, I just couldn’t keep the circular saw both upright and flush against the fence. Instead of beautiful scarf joints I got wavy cuts that were different widths at either side.
I think that it might be possible to build a jig that did the right thing. Perhaps if I supported the circular saw on both sides of the blade, for example, it would do the right thing. However, at this point I am not the slightest bit interested in experimenting with scarfing jigs.
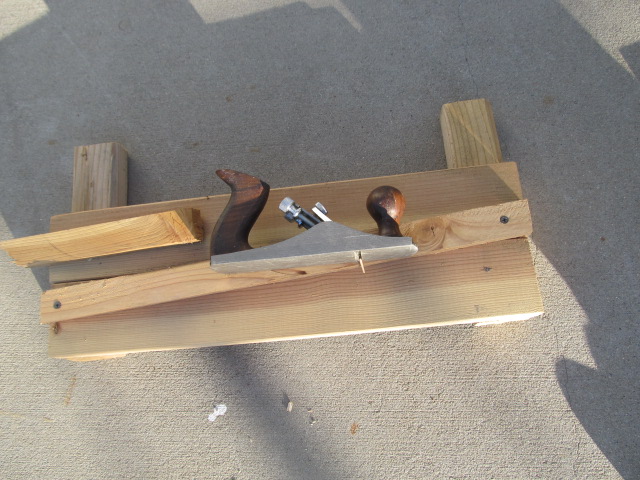
The reason for this is simple. It turns out that scarfing lumber with a bench plane is ridiculously easy.
Once I had failed at building a scarfing jig I decided to do what I normally do when my fancy plans fail. I decided to simply carve the wood to the shape I needed. To this end I pulled out my trusty bench plane.
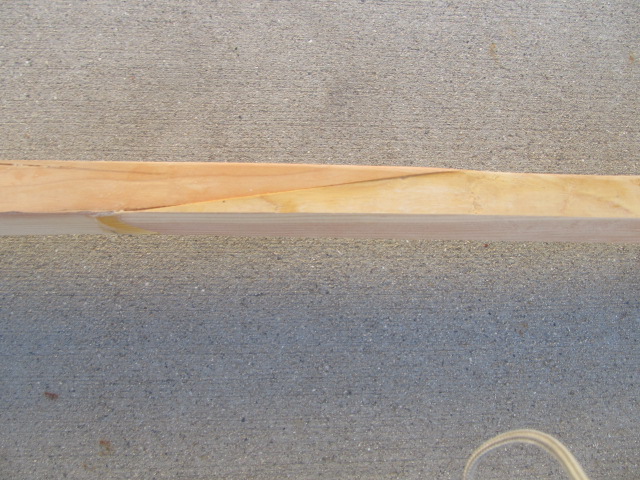
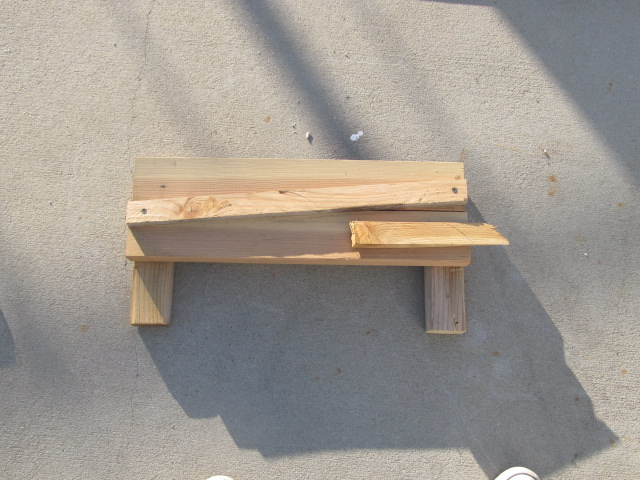
I measured off 6 inches on both of the sticks that I planned to scarf together. Then I stacked them on top of each other offset by the six inches I had marked. The stack looked something like this:
I then sharpened up my cheap Harbor Freight bench plane and went to work. Cutting the scarf took less than 10 minutes, and gluing it up was simplicity itself. I mostly followed Jim Michalak’s instructions. I used Titebond II as the glue.