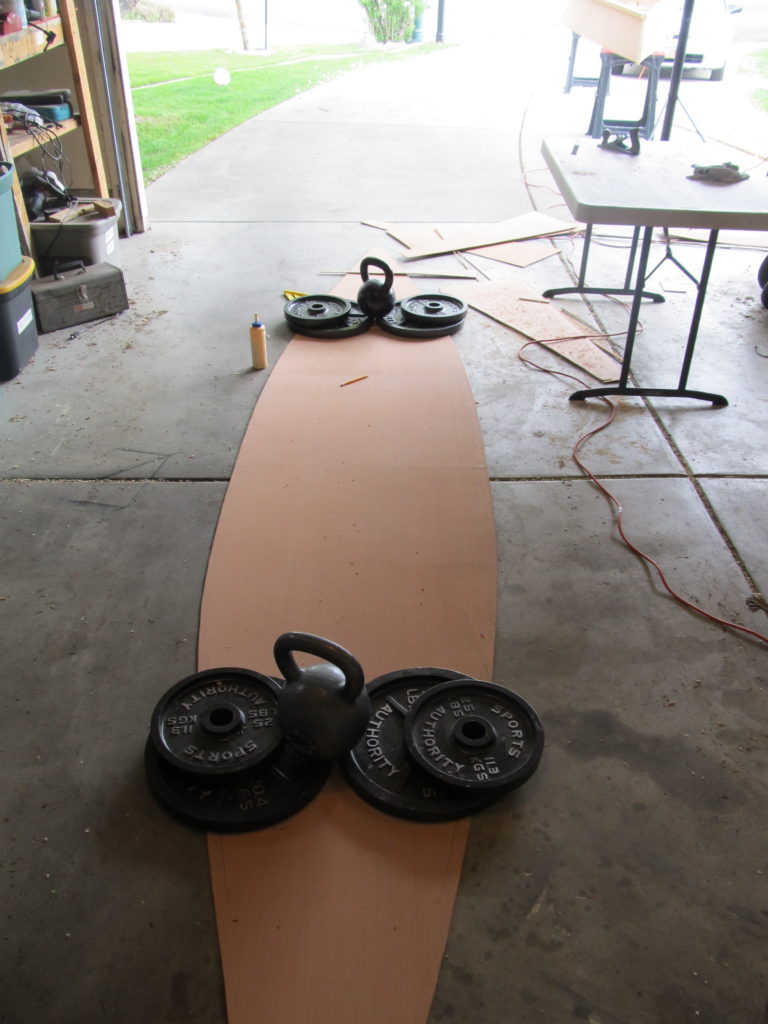
This week was a good one for progress on the canoe. I was able to fit all of the internal seat frames (badly), which then allowed me to get the bottom traced and cut out, and the bottom butt blocks installed.
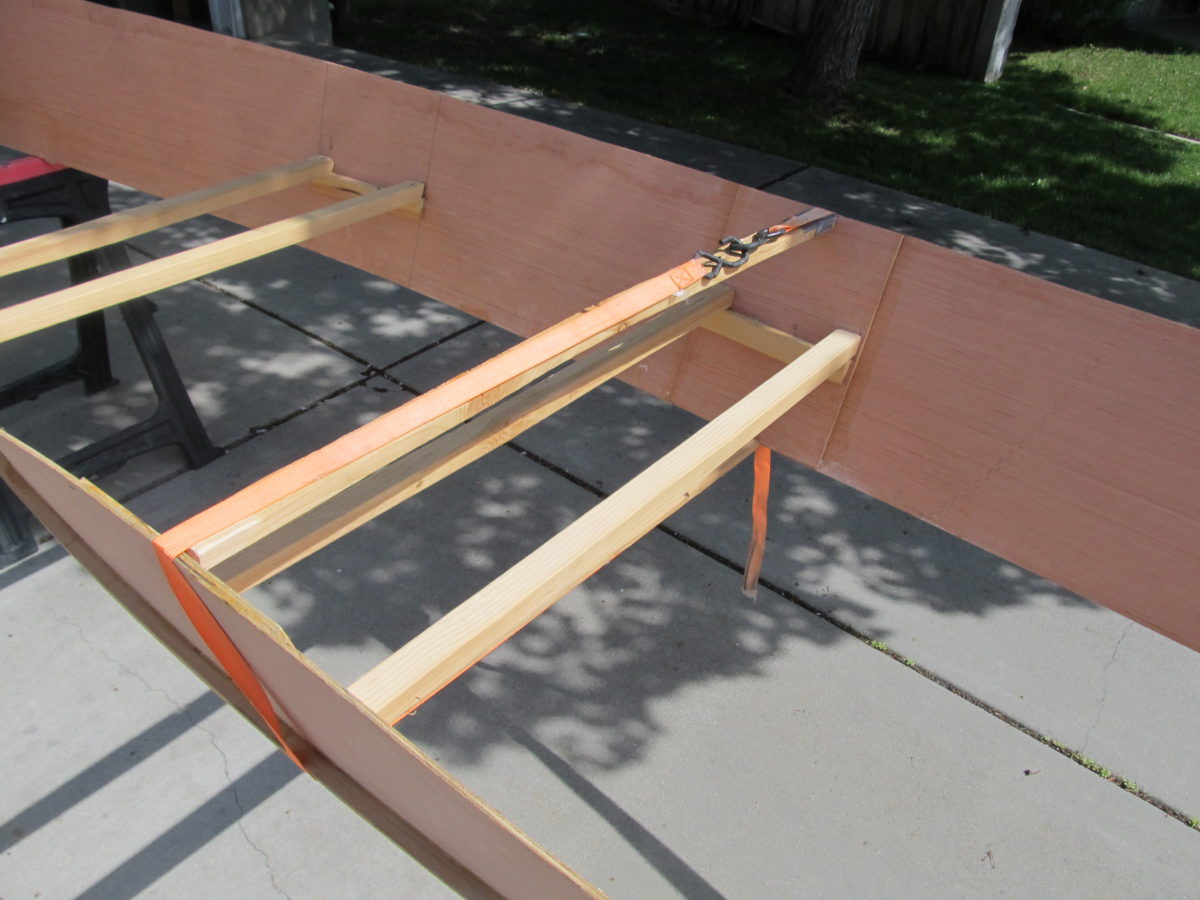
My initial plan, when it came to putting the bottom on the canoe was to simply put in enough framework to get the correct flare to the sides. And I use the term framework very loosely. What I actually had was a couple of sticks and a Harbor Freight tie down.
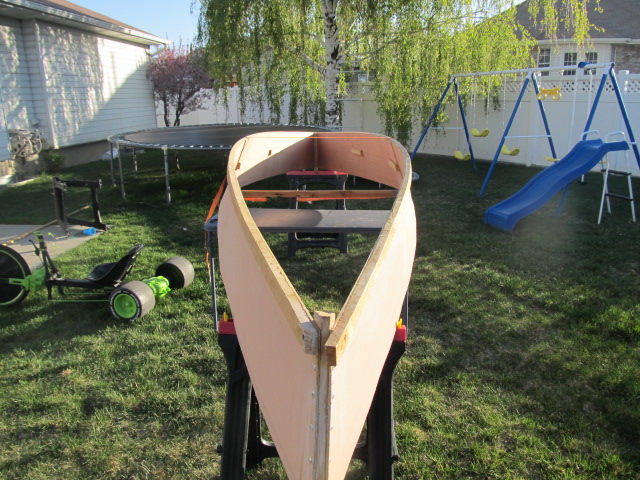
I had hoped that this minimal framework would allow me to put the bottom on the boat and trace out the lines where it needed to be cut. Unfortunately this proved to be not quite enough framework. The width of the boat was not the same at both ends of the boat. It became clear that I needed to put in the other seat frames before I tried to fit the bottom of the boat.
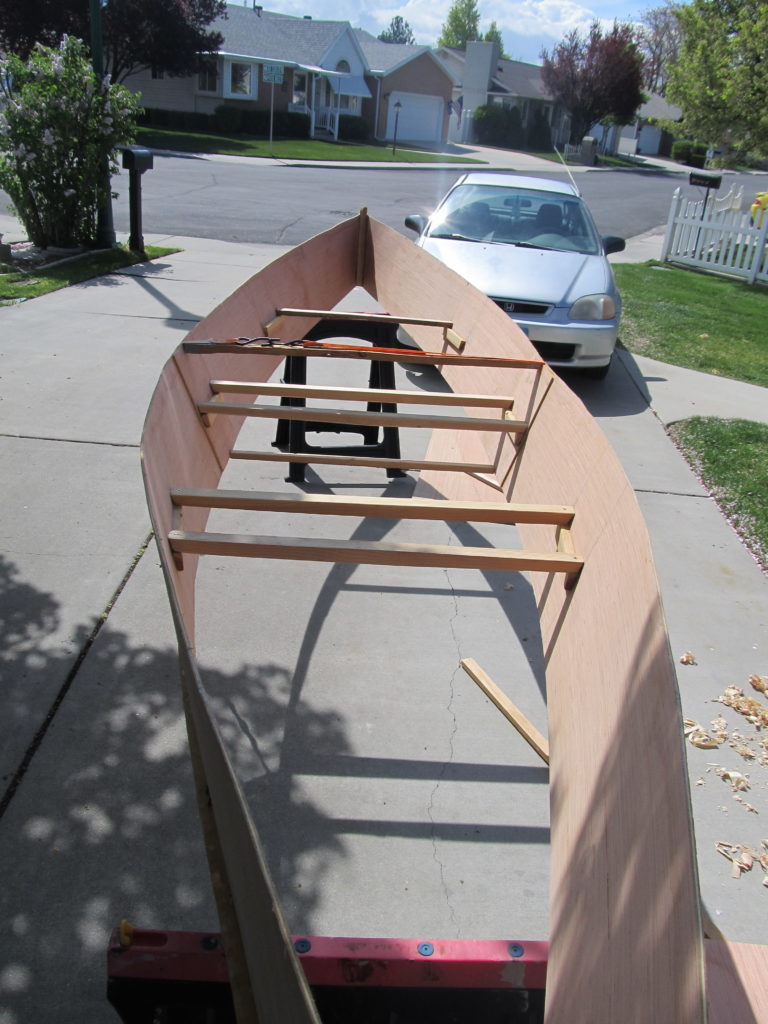
I can’t stress enough the fact that these seat frames are just roughed in. That doesn’t necessarily mean that I won’t leave them like they are permanently. It does mean, however, that the fit is not very good. Measuring and cutting the different angles simply proved to be more work than I was willing to do.
If I had to do this again, and I probably am going to have to do this again with the scouts, then I would probably rethink the how the seats are installed.
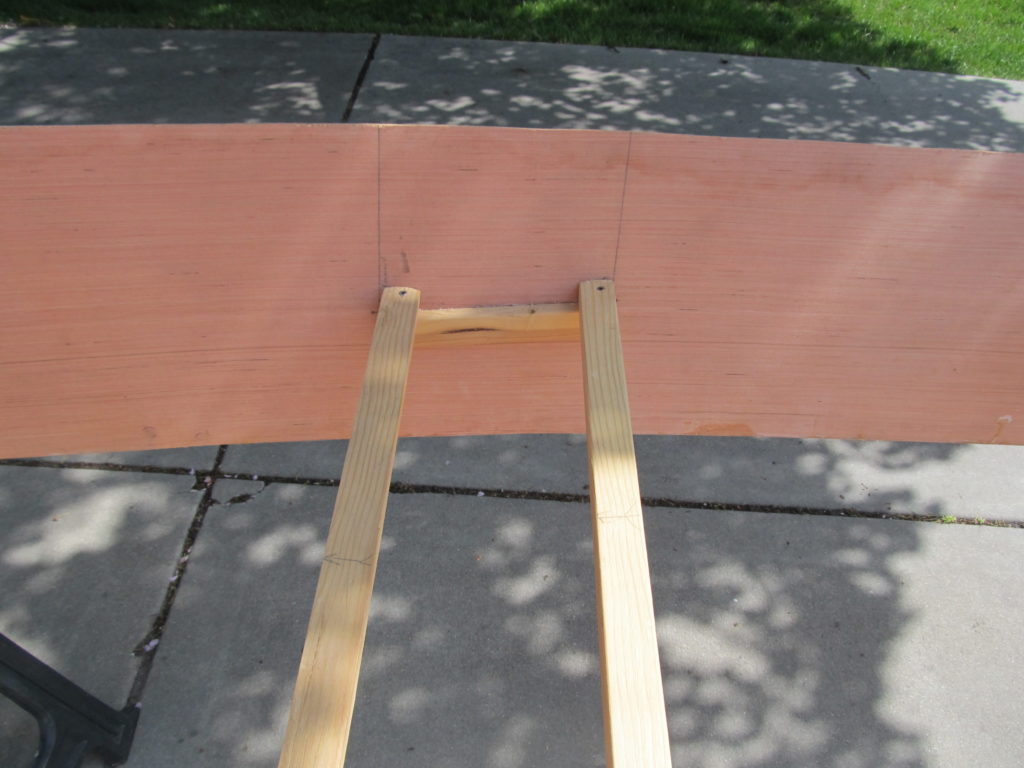
On the bright side, the seating fromes are in well enough that I was finally able to cut out the bottom. That part of the build went very well. The first thing that needed to be done was to flip the boat upside again. I then laid the bottom plywood on the boat and tacked it into position with a few wide headed lath screws. The idea was that this would allow me to put the cut out bottom back in precisely the same place (that part worked very well).
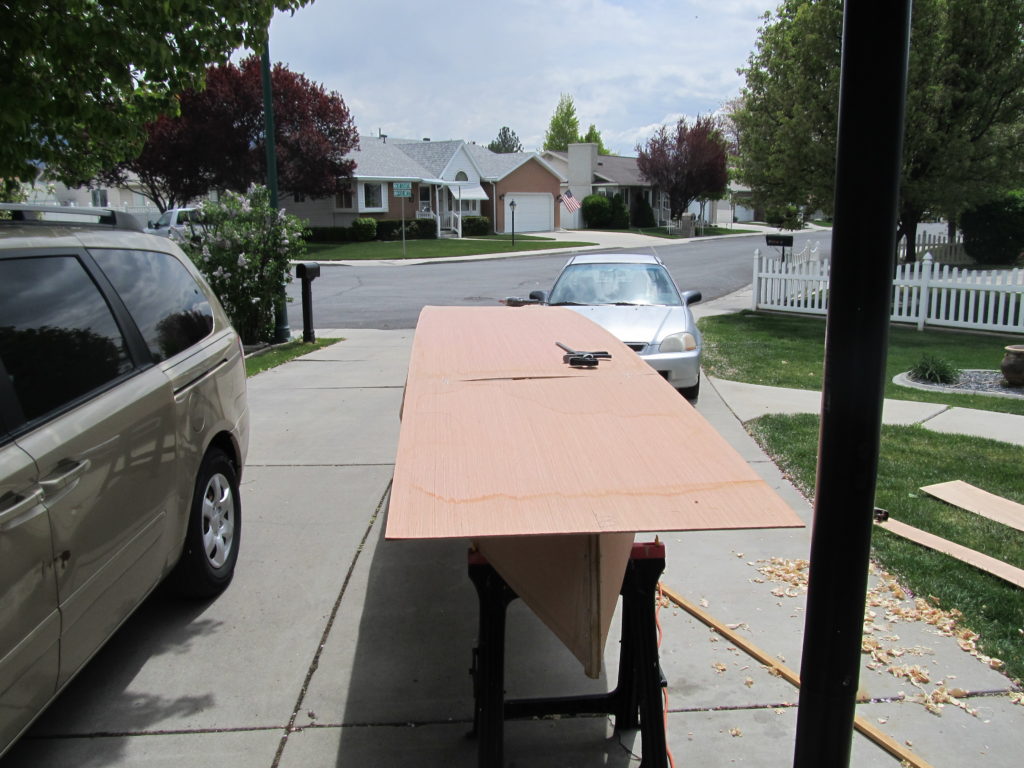
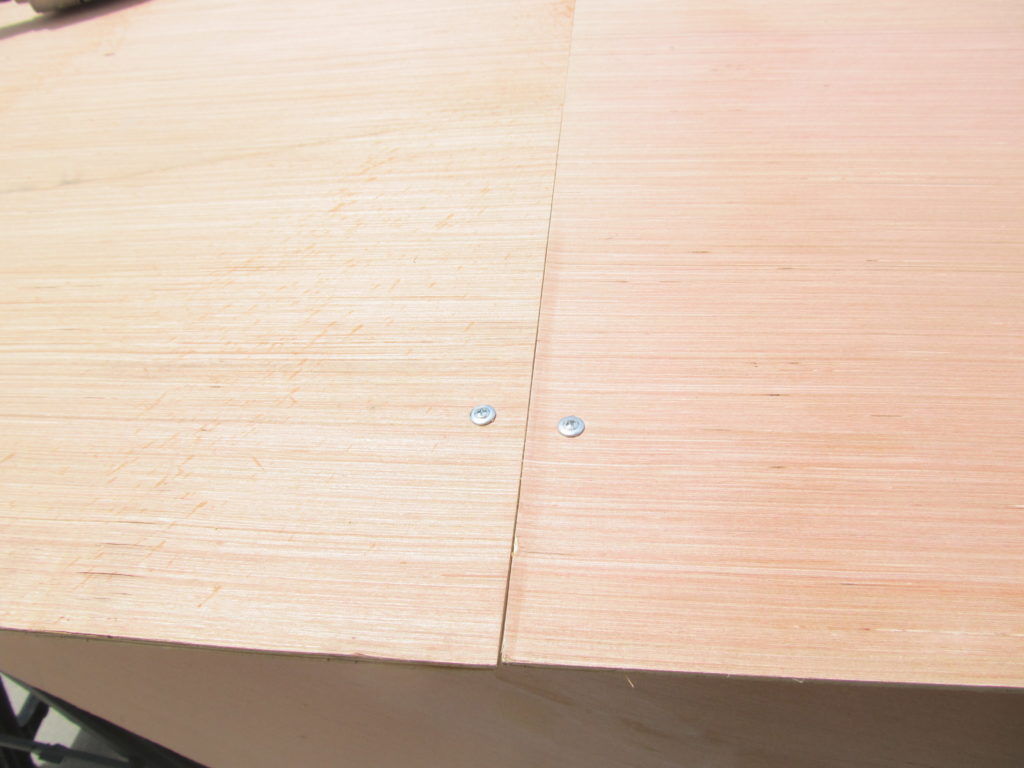
I spent a lot of time worrying about tacking the bottom on the boat. The reality was that this part was easy. I had drawn a line down the middle of the large bottom piece. Lining that up with the butt block lines on the sides made lining the bottom up very easy. I then simply traced out the shape of the bottom, including tracing out the inside curve near where the bottom butt splices need to be.
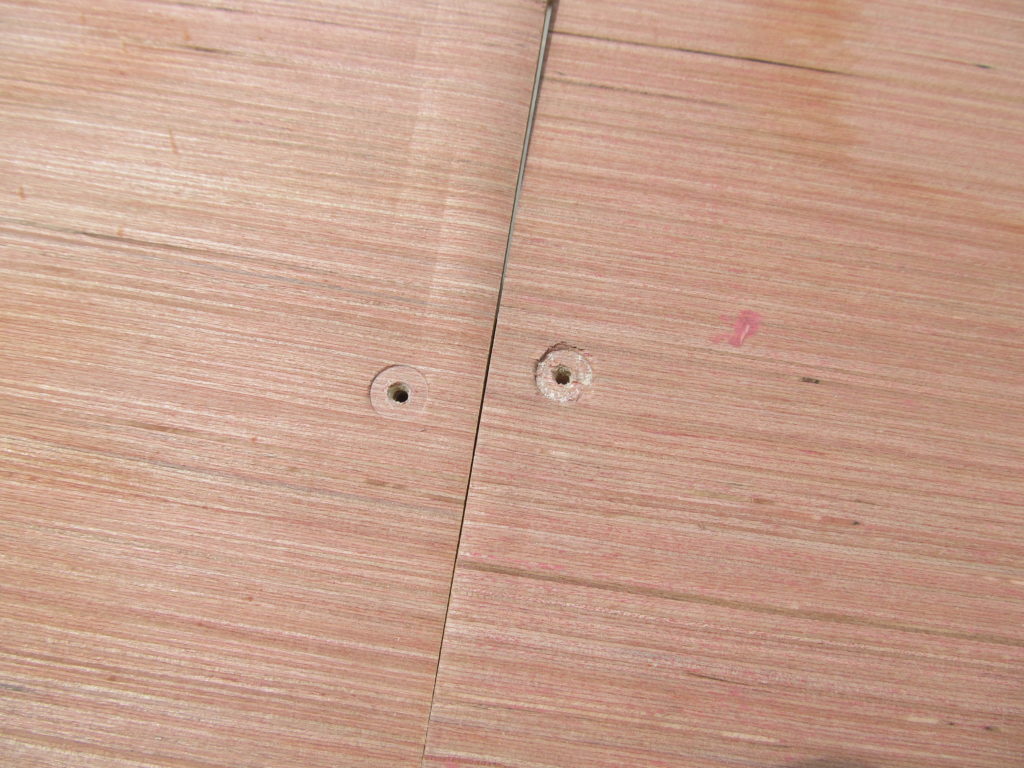
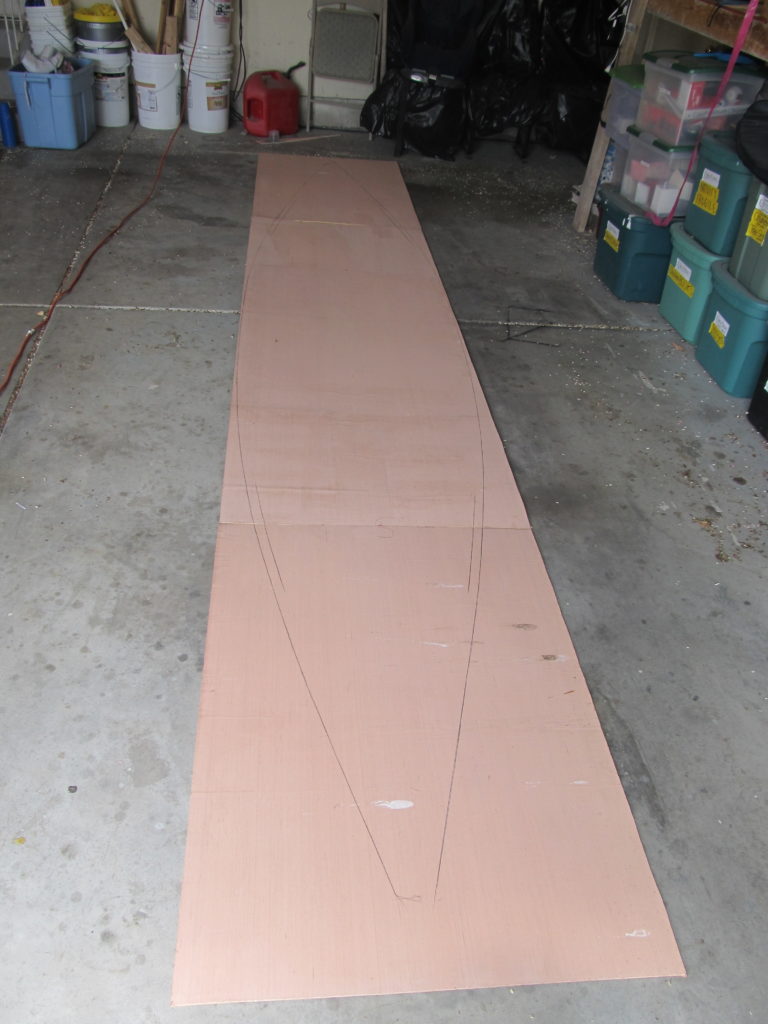
Cutting the bottom out didn’t take long at all. I then spent an hour or so thinking about how I was going to glue things together. It turned out that the curve for the butt block was easy to freehand by simply putting the but block on top of the area to be spliced and then drawing on the line where it should be cut. My Leatherman Super Tool has a nice thin saw blad that does a good job with these sorts of short, curved, cuts.
I also chamferred the edges of these but blocks. That is something I should have done with the butt blocks on the sides.
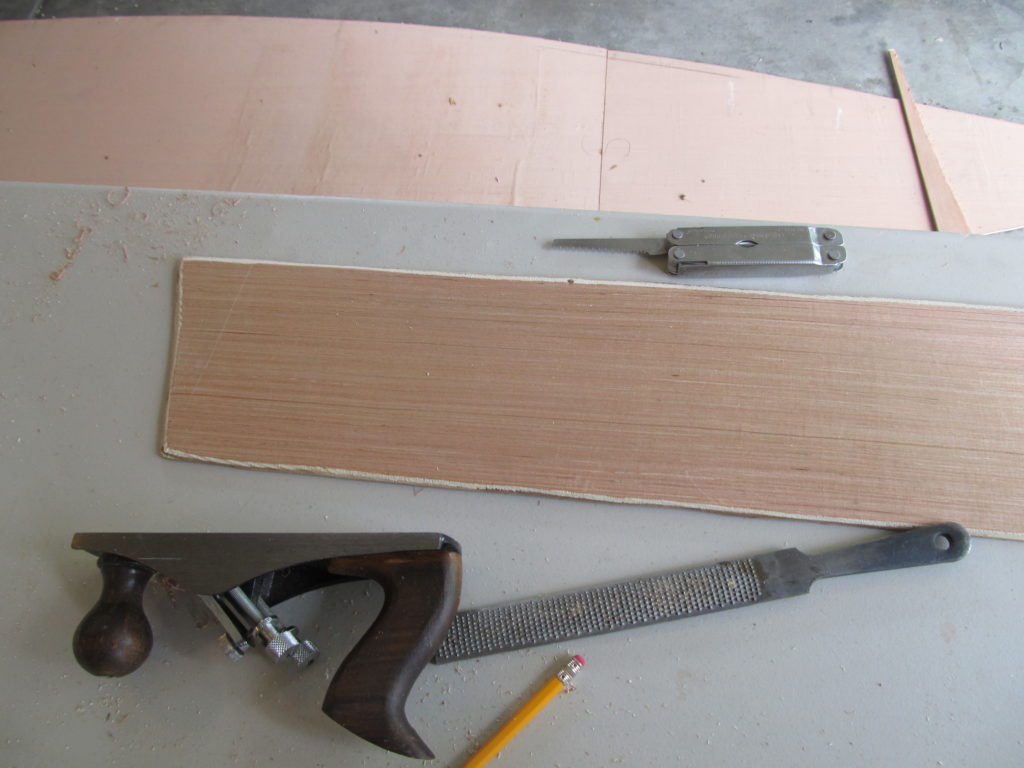

Once the butt blocks were created gluing them up was easy. With the side butt blocks I had a bit of trouble with the butt block sliding around. Weighting the block down on one side and getting the splice in the right place then allowed me to clamp down the other side without having it slide around. With the side butt blocks I just used one large plate as weight. Using a plate for both sides worked much better.
